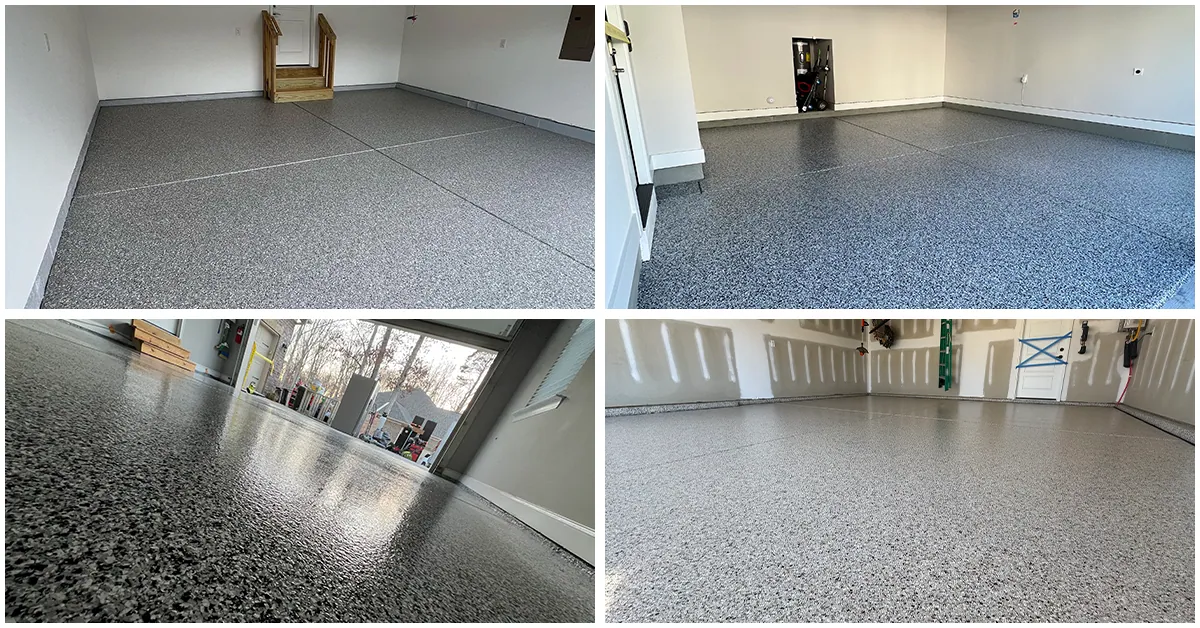
A professional epoxy garage floor goes down in a clear sequence: inspect and test the slab, diamond grind the concrete to open it up, repair the cracks and joints, apply the base coat, broadcast color flake into the wet base to full coverage, then seal it all with a polyaspartic top coat. Most of the work is in the preparation, not the coating, because a coating is only as good as the surface it bonds to. Done right, the coating itself often goes down in a single day, and the finished floor is ready to walk on in about 24 hours, to drive on in about 48 hours, and is fully cured in about 5 days. The grinding and testing are what separate a floor that lasts from one that peels, even though they are the parts you never see in the finished result.
Key takeaways
- Preparation is most of the job: diamond grinding and testing decide whether the floor lasts.
- The slab is tested for moisture and hardness before any coating is chosen or applied.
- Cracks and control joints are cleaned and filled before the base coat goes down.
- Flake is broadcast into the wet base to full coverage, then the excess is scraped and vacuumed.
- A polyaspartic top coat seals the system; the floor is walkable in about 24 hours and ready for vehicles in about 48 hours.
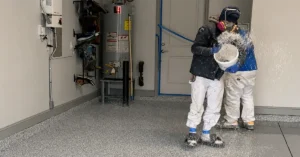
After years installing these floors across the Charlotte metro area, what we find surprises homeowners most is how little of the day is spent on the colorful part. The coating goes on fast. The hours that decide whether the floor is still perfect in years are spent on the concrete before any product is opened.
What Most Homeowners Get Wrong
The biggest misconception is that installing an epoxy floor is mostly about rolling on the coating, the way you would paint a wall. People picture the finish and assume the prep is a quick cleanup first.
It is the reverse. The coating is the fast part; the preparation is the job. A coating bonds to the profile that grinding creates in the concrete, so a floor laid over an unprepared or untested slab can look perfect on day one and fail within a year no matter how good the product is. That is why a real install starts with a grinder and a moisture meter, not a paint roller. If you want the bigger picture of what the finished system is, start with what epoxy flooring actually is.
How a Professional Epoxy Floor Goes Down, Step by Step
Here is the sequence a professional crew follows.
Step 1: Inspect and test the slab
Before anything is coated, the slab is inspected and tested. A moisture test shows whether the concrete is dry enough to coat or needs a vapor barrier first, and a hardness check confirms the surface will hold a profile. This is where the right base coat for your specific slab is decided, not assumed.
Step 2: Diamond grind the concrete
The concrete is ground with diamond tooling to open its pores and create the surface profile a coating needs to bond. This replaces acid etching and pressure washing, which do not produce a reliable profile. Grinding is the single most important step in the whole install.
Step 3: Repair cracks and control joints
Cracks and control joints are mechanically cleaned and filled with a polyurea crack mender before coating, rather than coated straight over. This keeps cracks from telegraphing through the finished floor later.
Step 4: Apply the base coat
The base coat goes down onto the prepared slab. For most garages this is a high solids epoxy, chosen for its bond and moisture tolerance; in cold conditions where epoxy will not cure, a polyurea base takes its place. Which base belongs on your floor depends on the system, covered in how epoxy and polyaspartic compare.
Step 5: Broadcast the flake
While the base coat is still wet, color flake is broadcast across it to full coverage, often described as broadcasting to refusal, so the surface is even from one end to the other. Once cured, the excess flake is scraped and vacuumed up to leave a uniform texture.
Step 6: Seal with the polyaspartic top coat
A polyaspartic top coat is applied over the flake to lock the system together and provide UV and scratch resistance. It cures faster than epoxy, which is how the application can often be finished in a single day; the floor is then ready to walk on in about 24 hours and to take vehicles in about 48 hours, with full cure in about 5 days.
What Determines How the Install Goes
A few variables decide how smoothly an install runs and how long it takes.
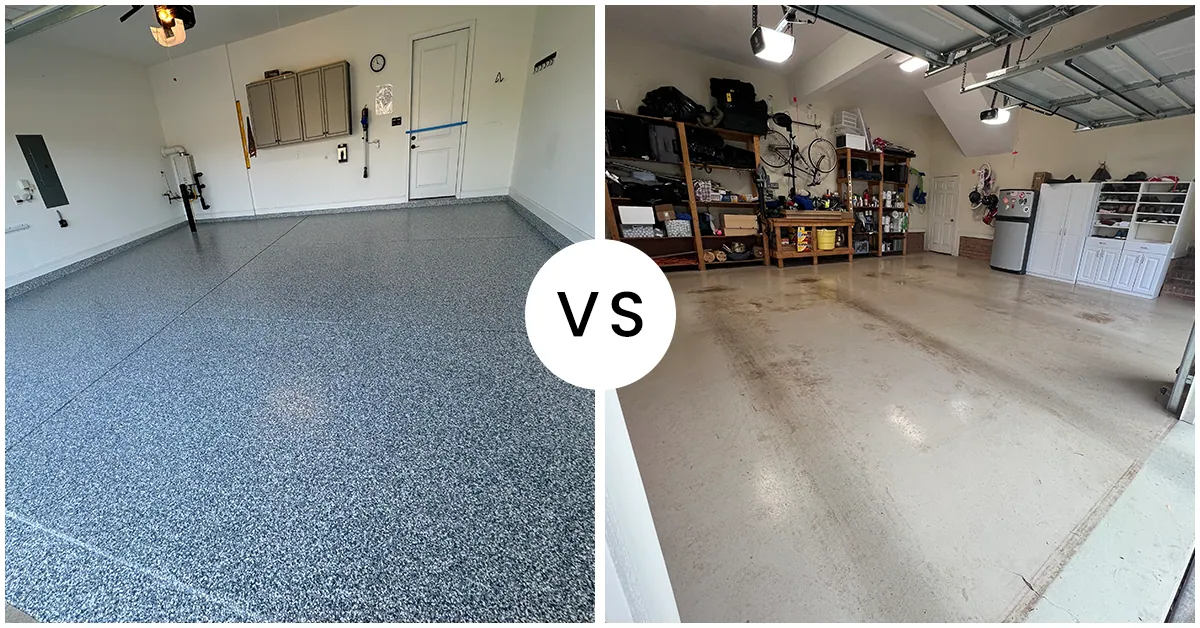
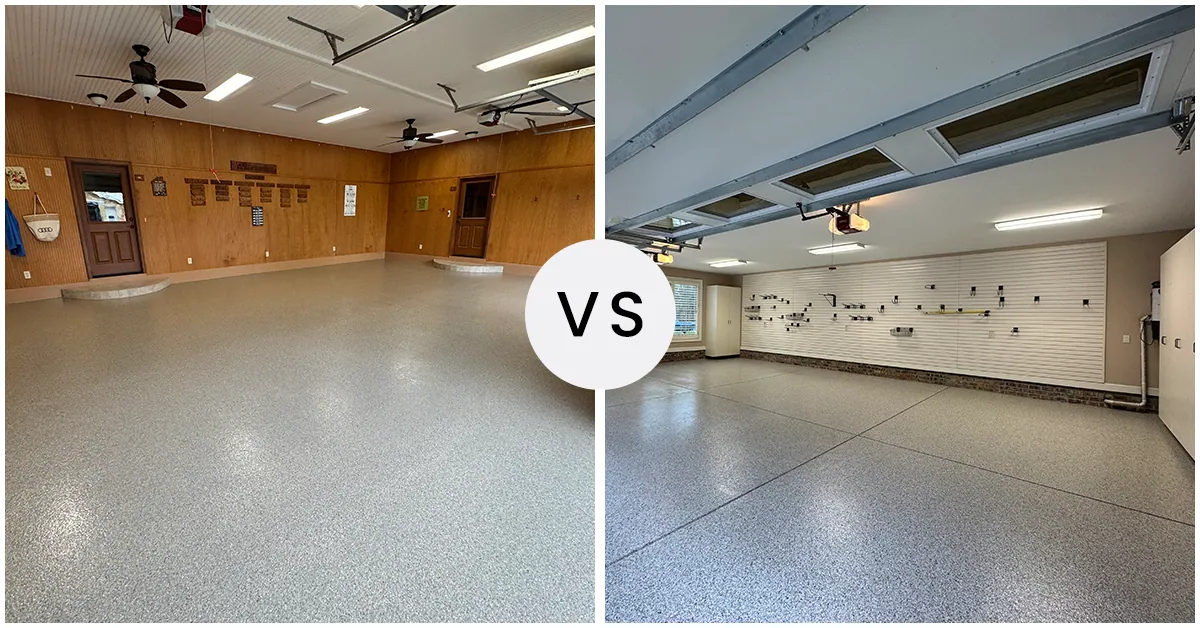
Slab condition. A clean, sound slab moves quickly through grinding and coating. Cracks, pitting, oil contamination, or an old failing coating add prep time because they have to be ground out and repaired first.
Moisture. A slab that tests high for moisture needs a vapor barrier before the base coat, which adds a step but prevents the floor from peeling later. Skipping the moisture test is a common shortcut and a common cause of failure.
Temperature and timing. Epoxy cures slowly and will not set properly in cold conditions, which is when a polyurea base is used instead. The coatings also have working windows, so the flake has to be broadcast while the base is still wet and the top coat applied on schedule. A crew that misses those windows leaves roller marks and uneven flake. The whole sequence is also what determines how long the finished floor lasts.
What Happens When You Get This Wrong
When the process is rushed or steps are skipped, the floor tells on itself. A slab that was not ground gives the coating nothing to grip, so it peels. A slab that was not moisture tested can bubble and delaminate as vapor pushes up from below. Flake broadcast after the base started to dry leaves bare patches; a top coat rushed outside its window leaves roller marks and uneven texture.
Any of these means the floor has to be ground off and redone, so a skipped step is not a saving, it is a second install. This is also why the install quality is inseparable from the price: the prep and testing that protect the floor are exactly what a cheap quote leaves out, which is covered in what an epoxy garage floor costs.
Why How a Contractor Preps and Installs Matters
Most coating jobs are sold on the finish and the color. The installs worth trusting are defined by the prep and the discipline around the coating windows, the parts the homeowner never sees.
A contractor who installs the right way grinds every slab with diamond tooling rather than etching it, tests for moisture and hardness before choosing a base, repairs cracks and joints first, broadcasts flake to full coverage while the base is wet, and applies the polyaspartic top coat on schedule so the finish is even and the edges stay clean. That sequence, done in order and on time, is what a professionally installed epoxy garage floor actually is. We run the install in that order with our own crew because every step depends on the one before it, and there is no shortcut through the prep that the finished floor will not eventually reveal.
The Bottom Line
Installing an epoxy garage floor is a sequence, and most of it happens before the color goes on: inspect and test, grind, repair, base coat, flake, top coat. The grinding and testing are invisible in the finished floor but decisive for how long it lasts, and the coating windows are why timing and an experienced crew matter. If you want to see the process done right on your slab, request a free in-person estimate and we will walk you through exactly how your floor would be installed.
Frequently Asked Questions
How long does it take to install an epoxy garage floor?
Many garage floors are installed in about a day, because the polyaspartic top coat cures fast. Slabs that need extra repair, crack filling, or a moisture barrier take longer. The coating itself goes on quickly; the variable is how much prep the concrete needs first.
How soon can I walk and drive on a new epoxy floor?
You can usually walk on the floor in about 24 hours, return light vehicles in about 48 hours, and the floor reaches full cure in about 5 days. A polyaspartic top coat cures faster than an all-epoxy system, which is what keeps the install to about a day. Your installer will confirm the exact times for your floor.
Why is grinding the concrete so important?
Grinding opens the pores of the concrete and creates the profile the coating needs to bond. Without it, the coating has nothing to grip and is far more likely to peel. Acid etching and pressure washing do not produce the same reliable profile, which is why diamond grinding is the professional standard.
Do you have to fill cracks before coating?
Yes. Cracks and control joints are cleaned and filled with a crack mender before the base coat goes on. Coating straight over them lets the cracks show through or reopen in the finished floor, so handling them first is part of a proper install.
What happens if the slab has too much moisture?
If a slab tests high for moisture, a vapor barrier is applied before the base coat so rising moisture cannot push the coating off the concrete. Skipping the moisture test is a frequent cause of floors that bubble or peel later, which is why testing happens before any coating is chosen.