Table of Contents
- What most homeowners get wrong
- The stages of an epoxy garage floor install
- What sets your install timeline
- What happens when you get this wrong
- Why how a contractor sequences the work matters
- The bottom line
- Frequently asked questions
Direct Answer
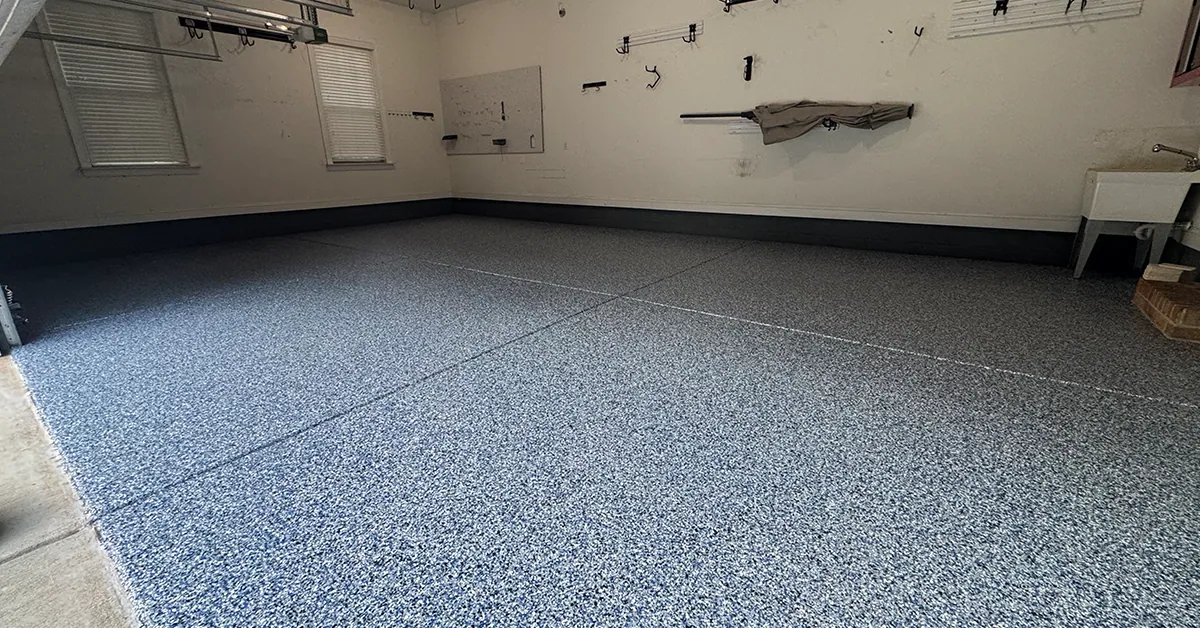
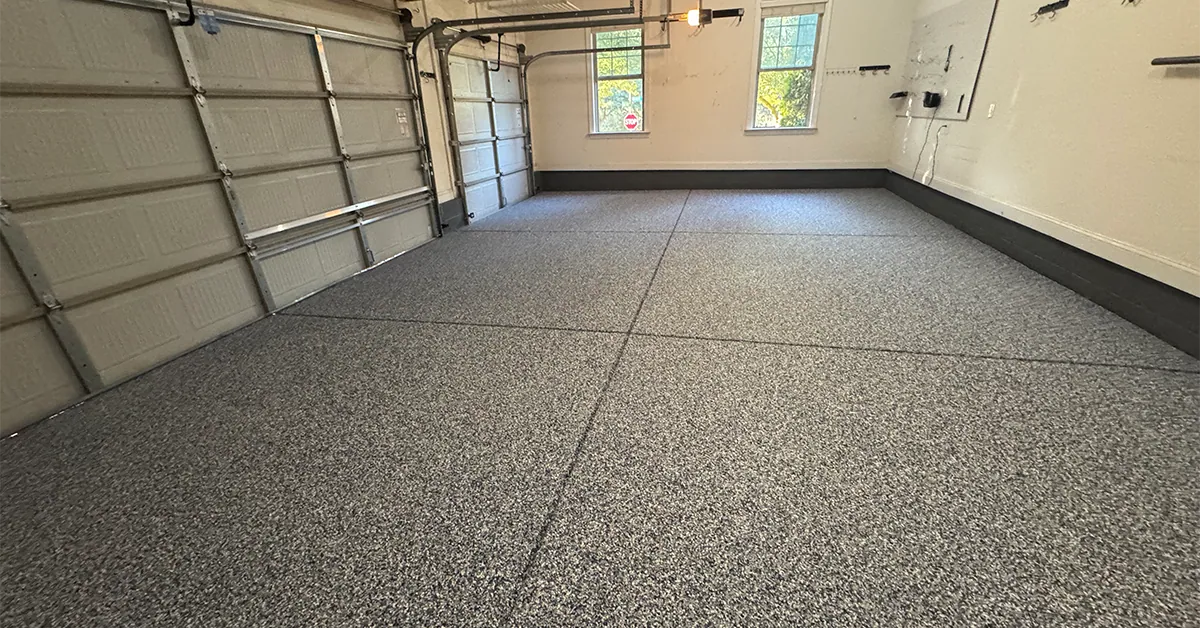
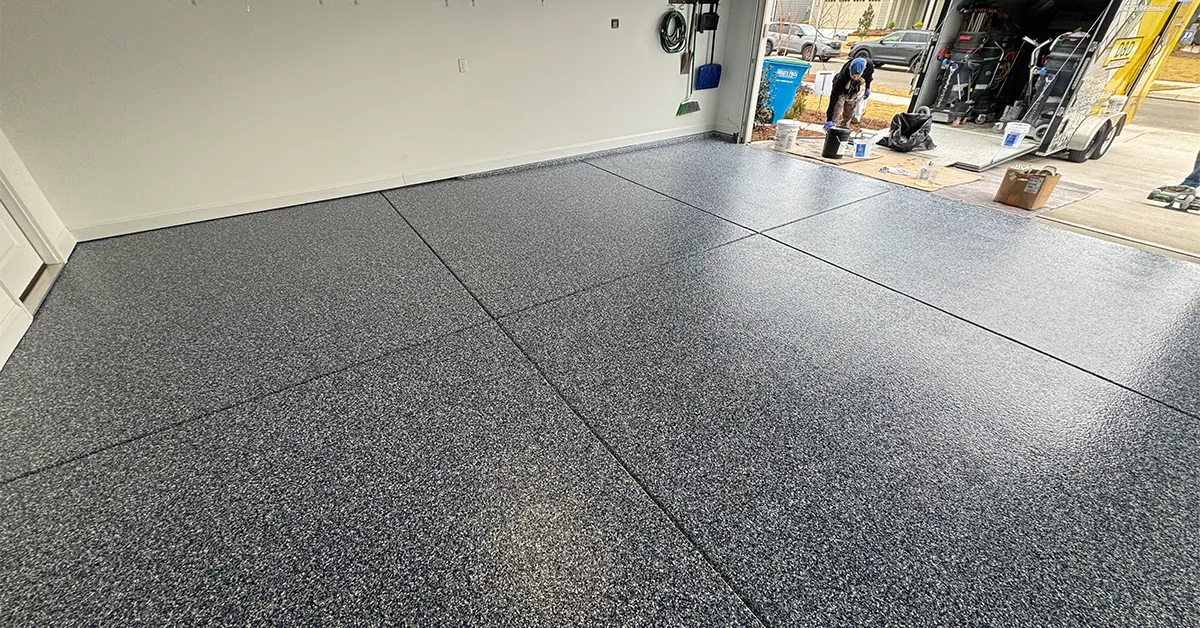
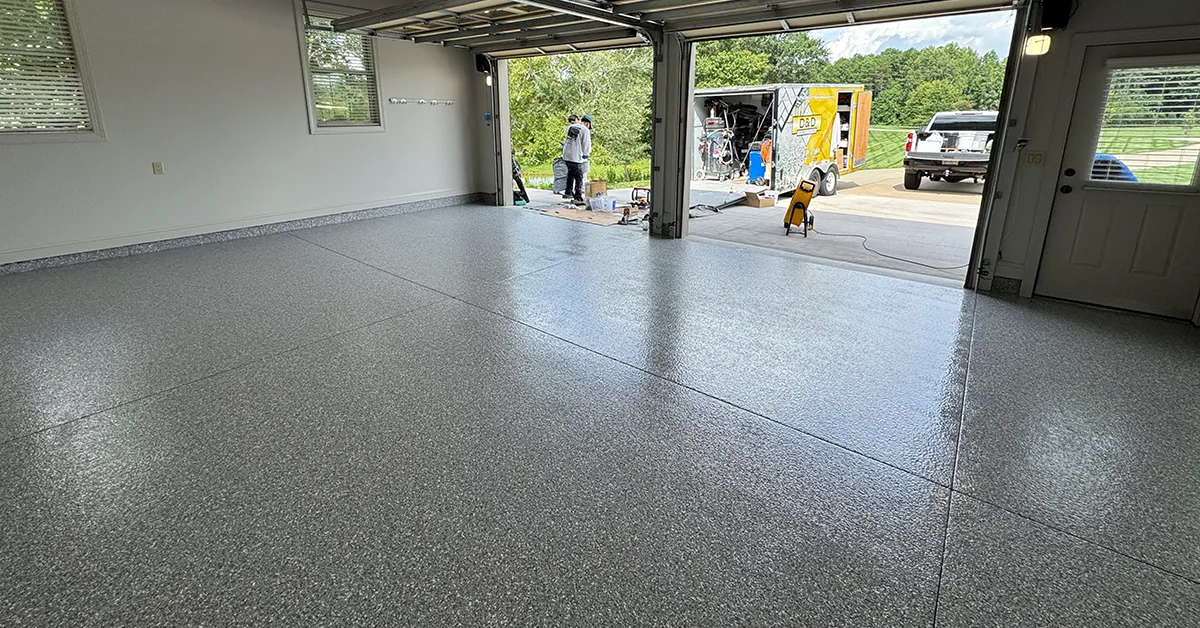
A flake epoxy garage floor is installed in one continuous sequence. The slab is ground with an industrial grinder until the concrete reads open and porous, then cracks and holes exposed by grinding are cleaned out, filled and ground flush. An epoxy, polyurea or polyaspartic base coat goes down, chosen for the project, vinyl flake, in the blend you chose is broadcast into the wet base to full coverage, and the floor is scraped and vacuumed once the flake has set. A polyaspartic topcoat is then rolled over it. Most garages of three cars and under are a one-day install, and the cure window afterward is what you actually wait on.
Key Takeaways
- Six stages, in a fixed order, most of them before any coating is applied.
- Concrete hardness is tested first because it decides which grinding tooling the machine needs.
- Cracks that only appear after grinding are repaired before coating, not covered by it.
- The floor is scraped between the flake and the topcoat, and that step has a specific reason.
- Three cars and under is usually a one-day install, and the cure window afterward is what you actually wait on.
We have never had a Charlotte-area install where grinding did not change something we planned at the estimate, which is why more than half the labor happens before the first coating goes down.
We have installed enough of these across the Charlotte metro to say the install is mostly prep, and the coating is the easy part.
What Most Homeowners Get Wrong
Most homeowners picture an install as rolling coating onto concrete, and judge a contractor on how fast they can do it.
The rolling is the last two hours of the day. Everything before it, grinding, testing, repairing, edge work, is what decides whether the floor is still holding at a decade. When a quote comes back substantially cheaper or a timeline substantially faster, the difference is almost never in the coating. It is in the grinding.
The Stages of an Epoxy Garage Floor Install
Stage 1: assess and test. The concrete hardness is tested, because it decides which grinding tooling the machine needs. Slab moisture is measured, because it determines which base coat is appropriate. Both happen before any equipment is set up.
Stage 2: grind. An industrial grinder takes the slab down until the concrete is white, open and porous. Hand grinders of 4 to 7 inches do the perimeter, the edges and the garage apron where the large machine cannot reach. This is the stage that decides everything downstream, because the coating bonds to the profile this creates.
Stage 3: repair. Grinding routinely reveals cracks and holes that were invisible beforehand. Each is mechanically cleaned out, filled with a two-part polyurea crack mender, and ground flush so the coating passes over one continuous surface. Repairing after coating means repairing through a finished floor.
Stage 4: base coat. Epoxy on most residential garages, or polyurea or polyaspartic where the project calls for it, applied directly to the opened concrete at a specified thickness. Solids content decides whether that thickness is achievable. A water-thinned product cannot build what a 100 percent solid one can, which is why the spec is worth asking for. This is the bond layer.
Stage 5: flake until the surface will not take another chip. Vinyl flake is broadcast into the wet base coat until the surface will not accept another chip. The floor then sets for a couple of hours, after which it is scraped across its entire area and vacuumed. That scrape is not cosmetic: chips that land standing vertically become sharp once the topcoat cures the floor to diamond hardness, and the scrape is also the check that coverage was genuinely complete.
Stage 6: topcoat. About three sheets of paper thick, 13 mils, of polyaspartic rolled over the flake to seal it in. That thickness is a specification: thicker and the floor becomes slippery, thinner and the flake is not fully sealed.
What Sets Your Install Timeline
Slab condition. A sound bare slab grinds quickly. A slab with a prior coating or sealer has to have it ground off first, which can add hours or a day, and whether a slab can take a coating at all comes first.
Crack repair volume. Cracks are not known until the slab is ground, which is why a fixed timeline given over the phone is a guess, and how the slab is prepared is where that gets handled.
Square footage. One car is roughly 200 square feet, two cars 400 to 500, three cars 600 to 800. Three cars and under is usually one day.
System chosen. Flake is typically one day. A solid epoxy three-coat system runs two to three days. Metallic runs three to five, because the base has to cure and be sanded before pigment, then cure again before the topcoat.
Temperature. Below about 30 degrees a resinous system will not cure reliably, so the base coat switches to polyurea, which stays workable and cures where epoxy stalls. Near that threshold the whole schedule moves: the base takes longer to reach the state where flake will hold, the flake window narrows, and the topcoat cannot go on until the base has actually cured rather than merely gone tacky. An unheated garage in December is not a no, it is a different sequence and a longer cure before the floor is drivable. The failure is installing to the calendar rather than to the thermometer, because a crew booked for a Tuesday will want to work on the Tuesday.
Cure, not install. Even a one-day install has a cure window afterward: 24 hours before you walk on it, 48 before you park.
What Happens When You Get This Wrong
Skipping or shortening the grind is the failure that matters, and it is the single largest cause of a floor releasing. A coating over a surface that was not opened has a shallow bond, and it does not wear out gradually. It releases in sheets, usually inside a year, and often after the first hot summer when slab moisture drives upward.
Coating over cracks rather than repairing them means the crack telegraphs through the finish within a season and keeps moving. The repair now has to be made through a coated floor.
Skipping the scrape leaves vertical flake under the topcoat, which is sharp underfoot on a floor cured to diamond hardness.
Rushing the cure is the most common homeowner error. Parking on a floor at 24 hours instead of 48 can mark the topcoat permanently, and that is not a warranty item.
Why How a Contractor Sequences the Work Matters
Where a job gets compressed, it is the front of it that gets compressed. Acid etch instead of grinding, coat over the cracks, broadcast flake to visual coverage rather than rejection, skip the scrape. Each saves real time and none is visible in the finished floor.
A contractor who runs this properly tests before setting up. They grind with an industrial machine and hand-grind what it cannot reach, then repair what the grinding exposes. The base goes on at specification thickness rather than to coverage, and the flake is broadcast to full coverage. The floor is scraped and vacuumed before topcoating. Then the polyaspartic goes on to a measured thickness.
The sequence never gets compressed on our flake garage floor installation, because the front of the job is where a compressed schedule shows up later. David is on site for every stage of this sequence, which matters most at stage 3, because the decision about what a newly exposed crack needs is made on the floor and not on a clipboard.
What can go wrong that is nobody fault, and it is nobody fault. Weather stops installs. A slab can read fine at the estimate and reveal more crack repair once it is ground, which moves the timeline. And a floor that has to cure in a cold snap takes longer to be drivable. A crew that tells you these things up front is being accurate, not slow.
The Bottom Line
The install is six stages and four of them happen before any coating is applied. If you want to judge a contractor’s process, ask what they do in stages 1 through 3, because that is where a floor is either made or lost. Most garages are a single day of work followed by 48 hours of patience. What your slab will need at each stage is established on site, before a date goes on the calendar.